Sending Jobs to the Studio Floor Laser Cutters
Setting up your cut job
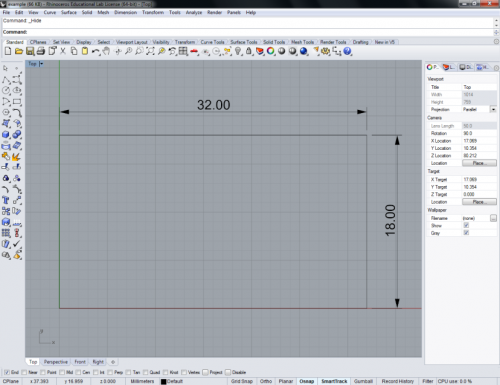
Open Rhino and draw a rectangle to define your cutting area. On the studio floor laser cutters this will be a 32” x 18” rectangle.
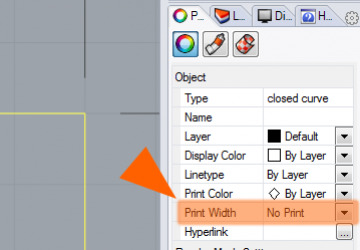
With the rectangle selected, go to the Properties tab and change the Print Width to No Print. This will keep the cutting area rectangle from being unnecessarily cut.
Move or copy your lines and shapes into the cutting area.

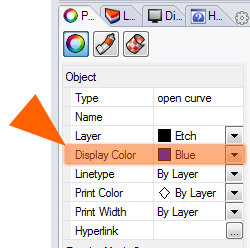
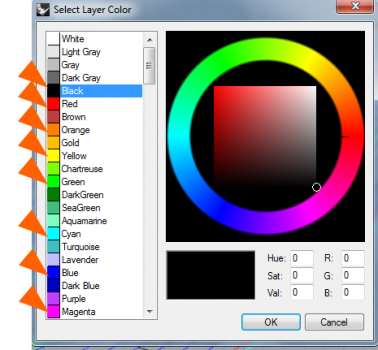
When cutting through and etching or scoring in the same job, you can differentiate the various power levels and cutting speeds you’ll use by color. You can set this through the Display Color or through the Layer Color in your document.

The laser cutter will cut all the lines of a particular color in one pass before it moves on to the other colors in your job. The order of colors that are cut are shown in the print settings window.

NOTES: If a particular color is empty, it will be skipped and the next used color will be cut. If you select a color other than the basic 8 (Black, Red, Green, Yellow, Blue, Magenta, Cyan, Orange) the laser cutter will assume it is black, and use the black settings for that color.
TIP: If you are etching and cutting in the same job, we recommend you set your etching colors to go first and your cuts to go last. The reason for this is that as pieces are cut they can be realigned or moved by the air currents inside the laser cutters, so any etching that goes over already cut pieces may be inaccurate.
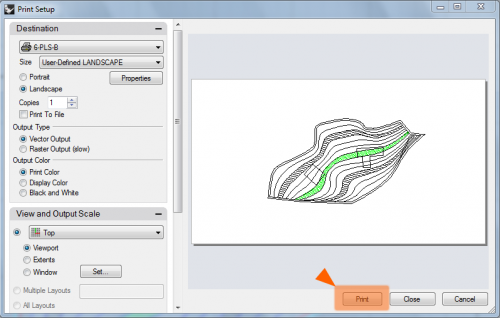
When you are ready to cut, print your job. You can do so if you press Ctrl+P, type the command Print, or go to File > Print in the menubar.
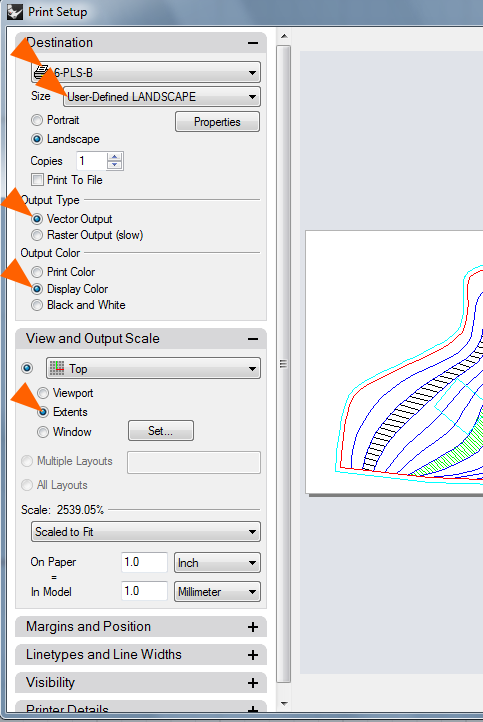
Make sure that your printer is set to the appropriate laser cutter and that the page size is User-Defined LANDSCAPE. Also, check that the preview looks to be oriented and sized correctly.
Your Output Type should be set to Vector Output.
If you notice that some colors look differently than they did in your Rhino viewport, change the Output Color to Display Color. If your preview colors look correct, leave this setting alone.
If you have only one cutting area rectangle and its contents visible (any other lines are hidden) then select Extents.
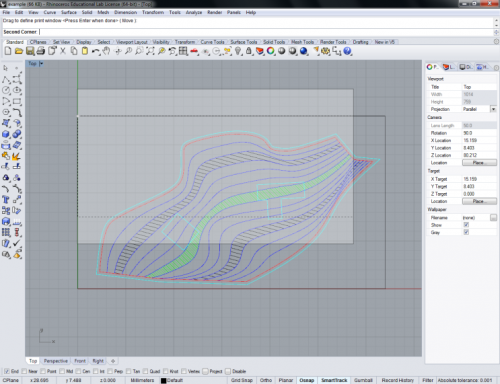
If you have other linework visible, which you don’t want to cut, select Window. Make sure that you have your Object Snaps enabled for endpoints, as shown below:

Click on one corner of your intended cutting area and then drag a rectangle out across to the opposite corner of your cutting area to define the printing window. Press Enter or Right-Click the mouse when you’re done defining the bounds of the print.
Defining Cut Settings
You can reach the settings by pressing the Properties button in the print dialog. Changes to power, speed, cutting mode, and PPI are made by first selecting the colors on the left of the window that you want to assign new settings to. When a color is selected, it will be highlighted in blue. Click multiple colors to modify several at the same time.
To change the cutting mode, use the drop-down menu at the upper right corner of the window. Unless instructed to otherwise, use Vector or Skip.

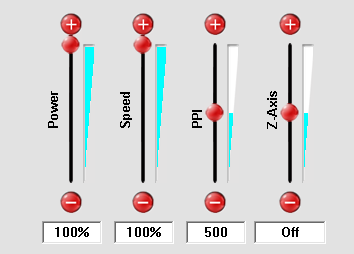
Either move the sliders to their appropriate locations, or select the numbers below the sliders to input specific numbers.
When you have finished your settings changes, press the red Set button to save them.
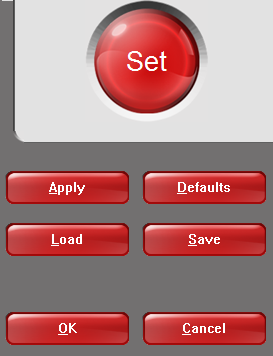
Hit the Apply button to save your changes but continue working, and the OK button to save them and close.
NOTE: The Z-Axis settings should remain OFF. Changing this setting can result in the laser de-focusing during your cut.

Example power and speed settings for double-ply chipboard and 1/8” acrylic are set in frames in the laser cutter rooms. Please use these to establish initial settings, then change them if necessary during your cut.
Sending your job
When your settings are correct and you have selected the appropriate cutting area in your document, send your print job.
You will need to pull up the Universal-Laser Control Panel (UCP) at this point. Click the red icon found in the System Tray in the bottom right corner of your screen.

To start your job, press the green Start button in the top right corner of the UCP.
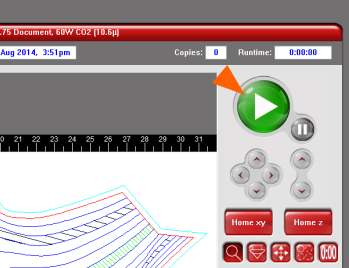
To get an estimate of your job’s time, press the stop-watch button showing: 0:00

Adjusting your settings
You can pause your job by pressing the red Pause button at any time.

To change the power/speed settings on your job, press the Settings button while the laser cutter is paused. Then use the same properties interface as when you set your initial settings. Press OK or Apply to save your new settings.
To resume your job press the red Pause button again.

NOTE: If you press the green Start button at this point, the laser cutter will go back to the beginning of your entire cut job
